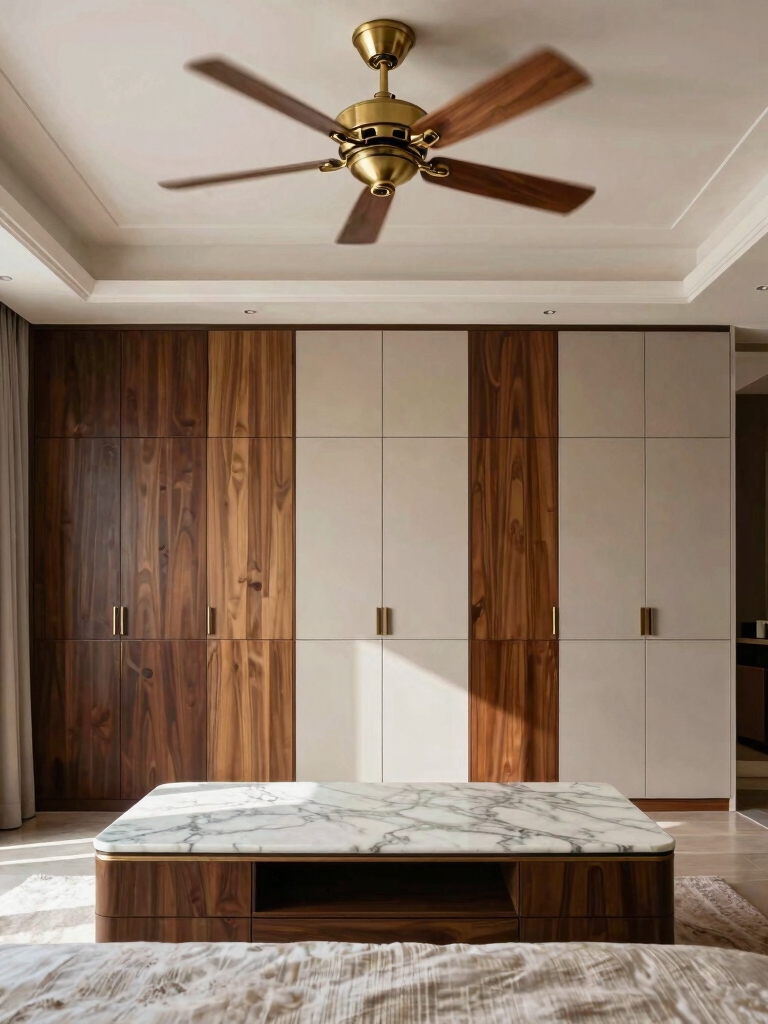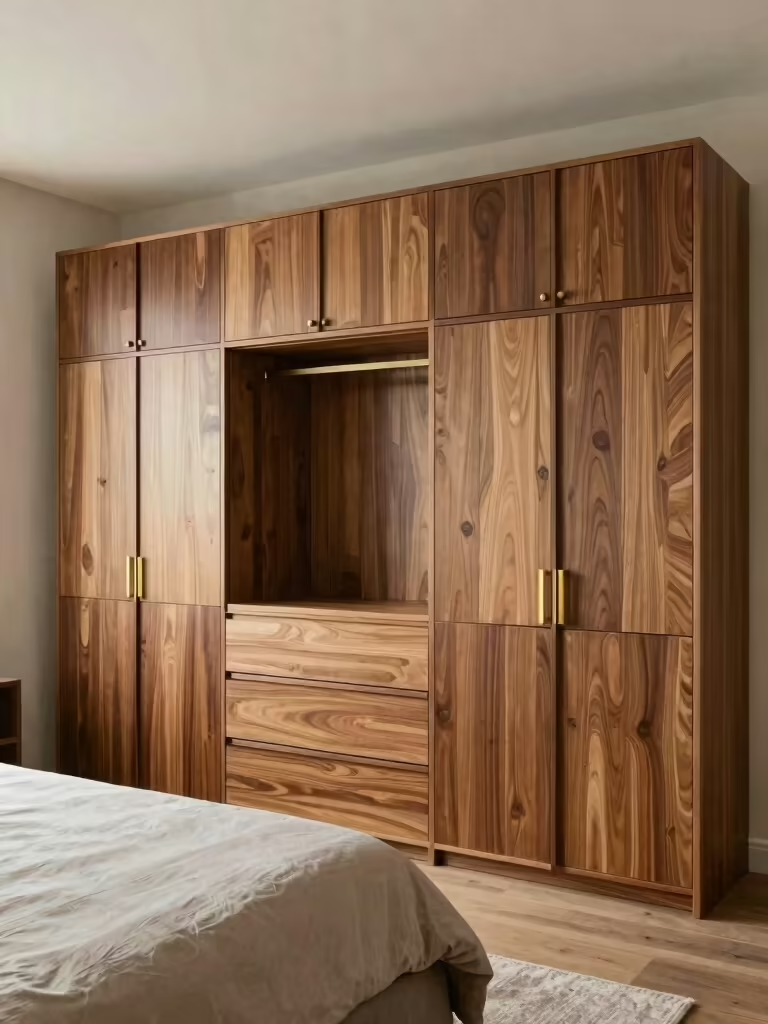

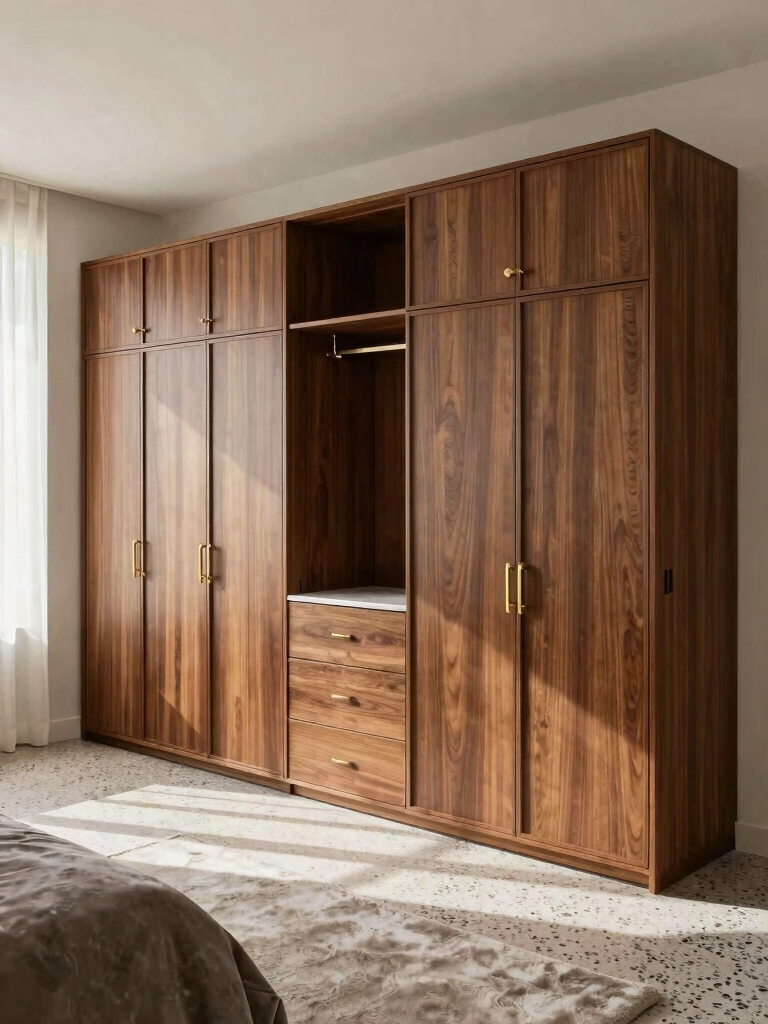
I once made a flat-pack wardrobe look custom for under a hundred dollars: new handles, a coat of paint, a strip of light. Friends assumed it was built-in. Nobody guessed the price. That’s the secret to an expensive-looking cupboard, it’s rarely about what you spent, and almost always about the details you got right.
These bedroom cupboard ideas deliver a high-end look without the high-end invoice. We’ll work through the clean lines, quality hardware, faux-luxe finishes, and lighting that fool the eye into seeing custom, each with the rough cost. Most are an afternoon’s work on a piece you’ve already got, which is exactly how budget-luxe is supposed to go.
Expensive-Looking Cupboards, Cheaply
What makes a cupboard look expensive? Clean lines, quality hardware, a smooth finish, and good proportions, far more than the price of the box itself.
What’s the cheapest high-end upgrade? Swapping the handles. New hardware transforms a basic wardrobe for under thirty dollars and ten minutes.
How do I fake high-end finishes? Paint, veneer, and peel-and-stick treatments mimic lacquer, wood, and stone for a fraction of the real thing.
Affordable, Elegant Cupboard Design
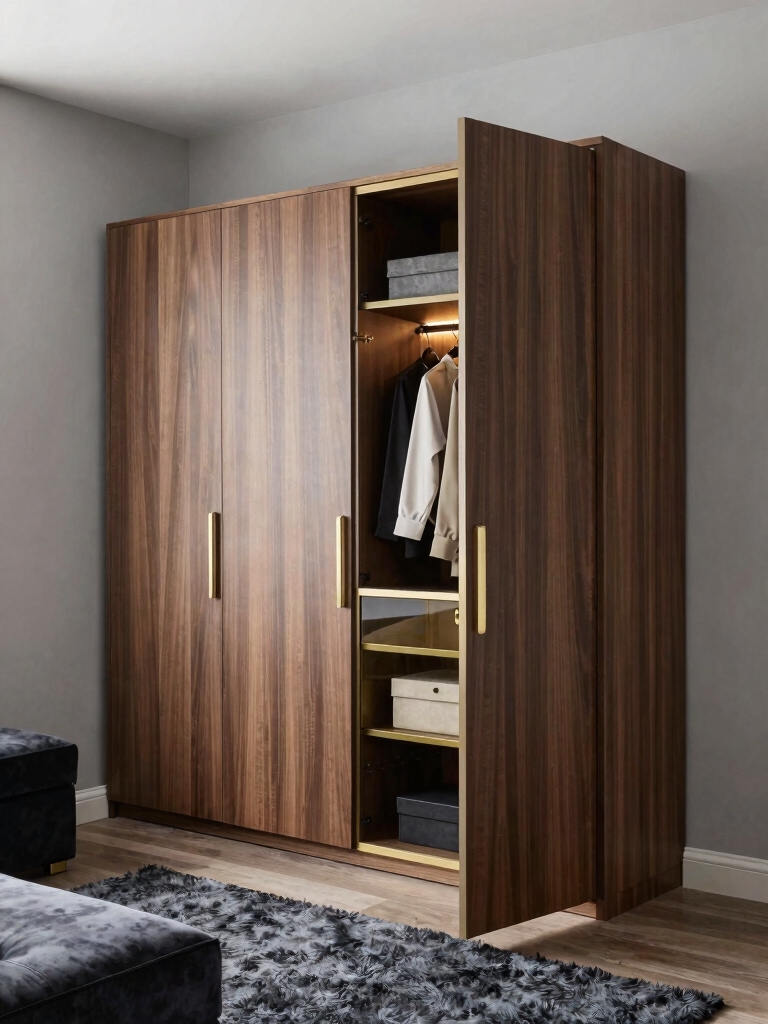
An expensive-looking cupboard comes down to a few principles. Not the budget. The eye takes clean lines, smooth surfaces, refined hardware, and balanced proportions as quality, almost regardless of what the piece cost. Nail those four and a modest wardrobe passes for custom; miss them and even a pricey one can look cheap.
Four Things the Eye Reads as Money
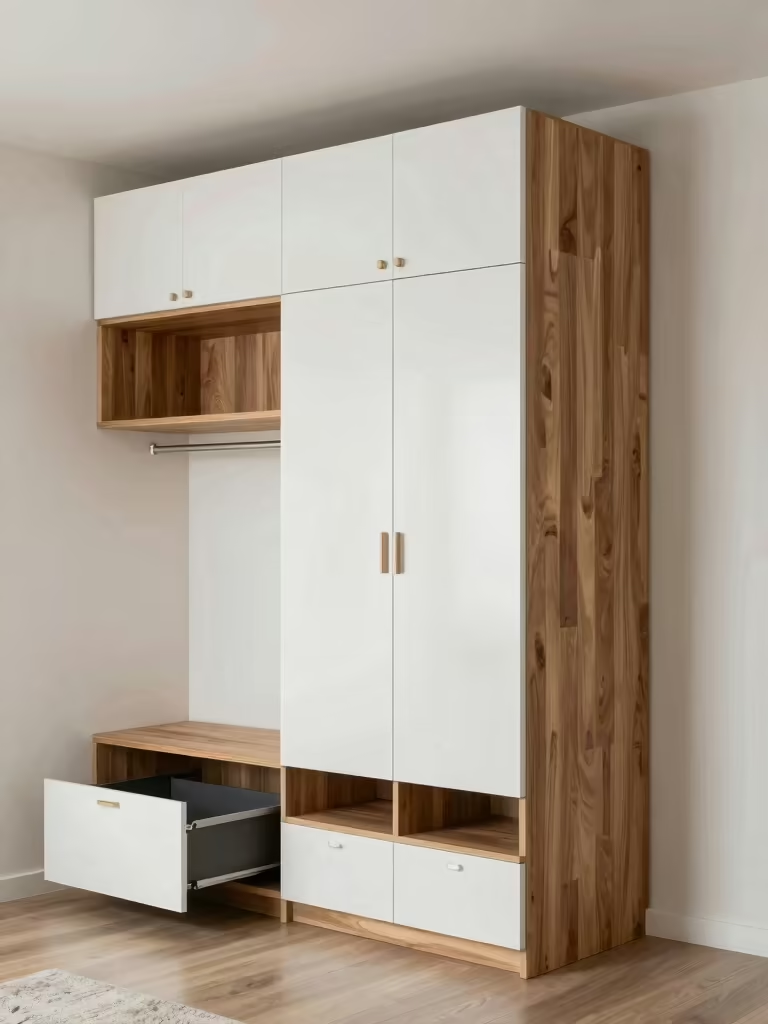
Start with the lines, since fussy detail is the giveaway of a budget piece. Flat slab-front or simple shaker doors look more high-end than fussy carved ones, and a wardrobe that runs floor to ceiling passes for fitted rather than bought. Closing the gap above a freestanding wardrobe with a panel or trim is one of the biggest custom-look upgrades there is.
Then sweat the small stuff that signals quality. Soft-close hinges, drawers that glide, and doors that line up evenly all whisper money, even when the box is melamine. These details cost little and take a little patience to fit, but they’re what separate a true expensive look from a merely new one. My [cupboard storage ideas](bedroom-cupboard-storage-ideas-work) cover the inside.
Stylish Space-Saving Wall Cabinets
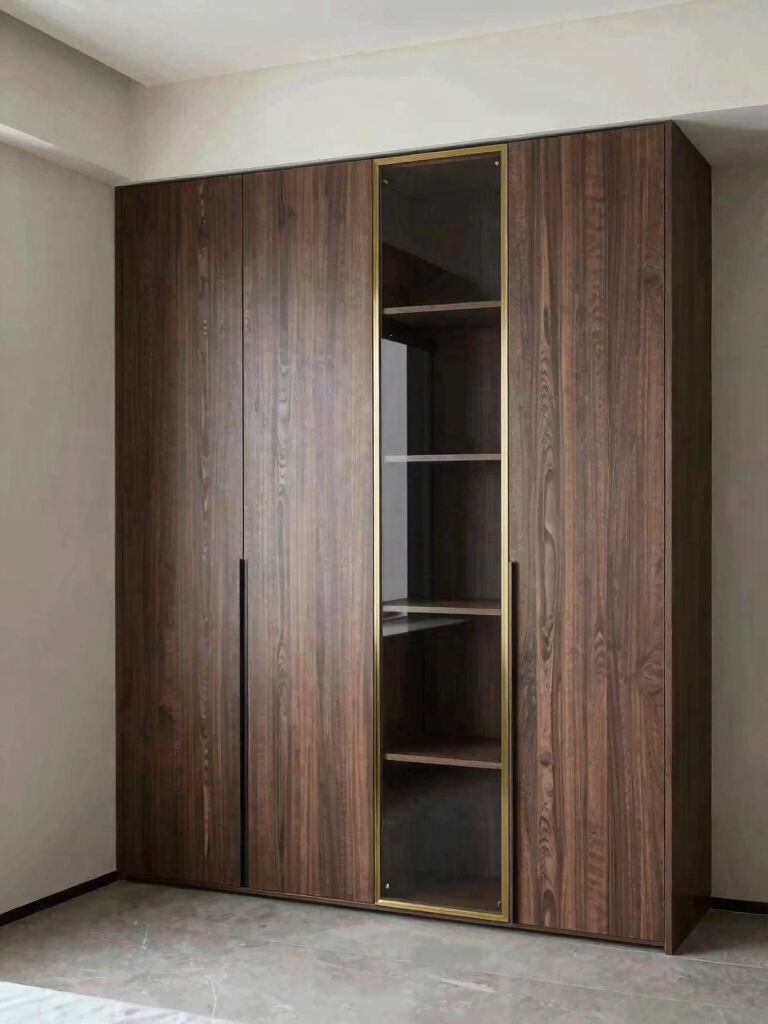
In a small bedroom, the cupboards that look most expensive are the ones that seem built for the space. Slim, floor-to-ceiling wall cabinets look custom because they use the full height and sit flush, with no awkward gap collecting dust on top. They store a surprising amount while keeping the walls clean and uninterrupted.
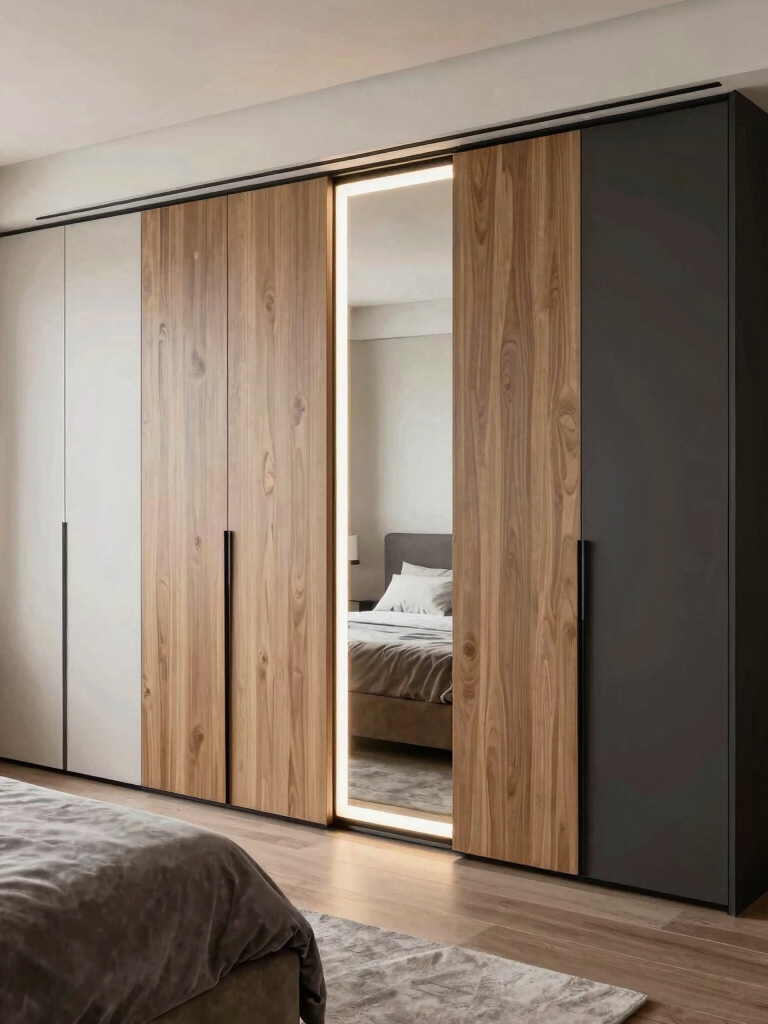
Lean into tricks that stretch both space and the high-end look. Recessed or push-to-open doors keep the wall smooth and handle-free for a sleek, modern feel; a mirrored panel on a door doubles the light and visually enlarges the room. Both look expensive and earn their keep in a tight space.
Build up, not out, wherever the floor is tight. Tall, narrow cabinets and over-bed or over-door storage use the wasted vertical space a normal wardrobe ignores, which makes the room feel both bigger and more deliberately designed. For squeezing storage from a small room, see my [storage ideas that beat clutter](bedroom-storage-ideas-clutter).
💡Designer’s Tip
Before buying anything, close the gap above a freestanding wardrobe with a panel or trim and add baseboard around the bottom. Filling those gaps so the piece meets the wall and ceiling is the single most convincing way to make freestanding furniture read as a built-in, and it costs a few dollars in trim.
Affordable Luxury Bedroom Finishes
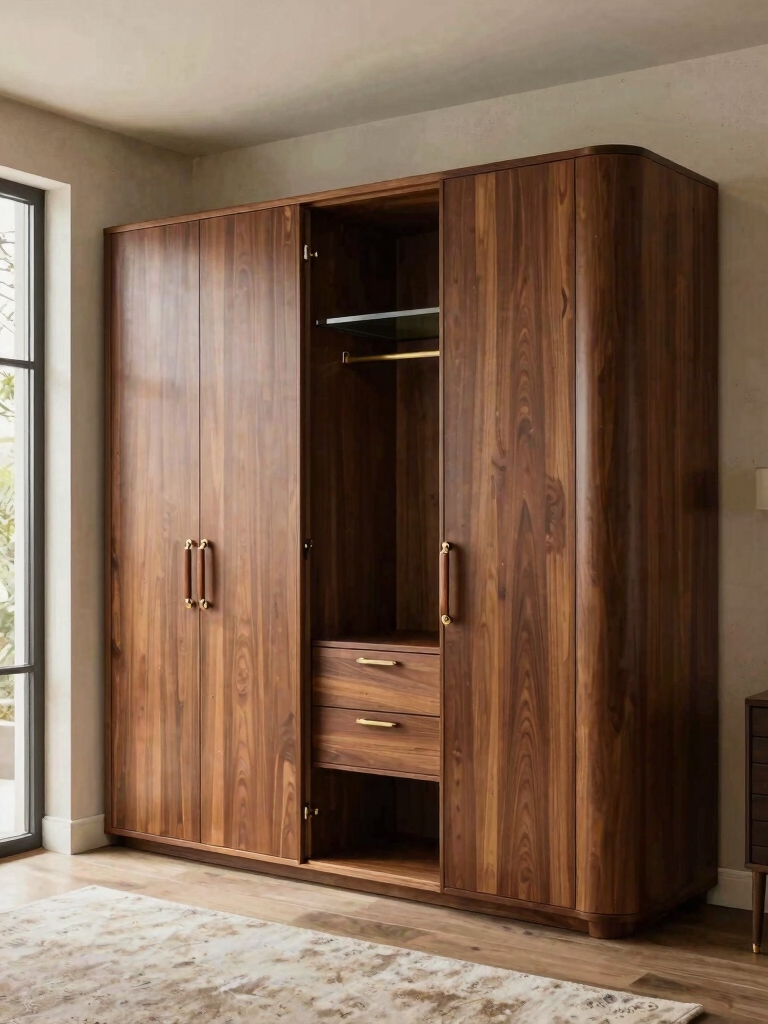
The fastest way to make a cupboard look expensive is the finish, and modern fakes are surprisingly convincing. A smooth coat of cabinet paint, a wood veneer, or a peel-and-stick treatment can mimic lacquer, real timber, or stone for a tiny fraction of the cost. The trick is a smooth, even surface, since the eye forgives the material but not a sloppy, streaky finish.
Match the faux finish to the look you want and prep it properly. A lacquer-look paint comes across sleek and modern, a warm wood veneer feels timeless, and a stone-effect panel brings a luxe touch to a single feature. Whatever you choose, sand and prime first so it goes on even, because the even sheen is what sells the high-end illusion. My [look-expensive bedroom decor ideas](bedroom-decor-ideas-look-expensive) cover the same trick room-wide.
- Use cabinet-grade paint in a smooth, even finish to mimic costly lacquer for a few dollars.
- Apply wood veneer or peel-and-stick for a real-timber or stone look without the price.
- Sand and prime first, since a smooth surface is what makes the faux finish convincing.
Upgrade Storage With Smart Hardware
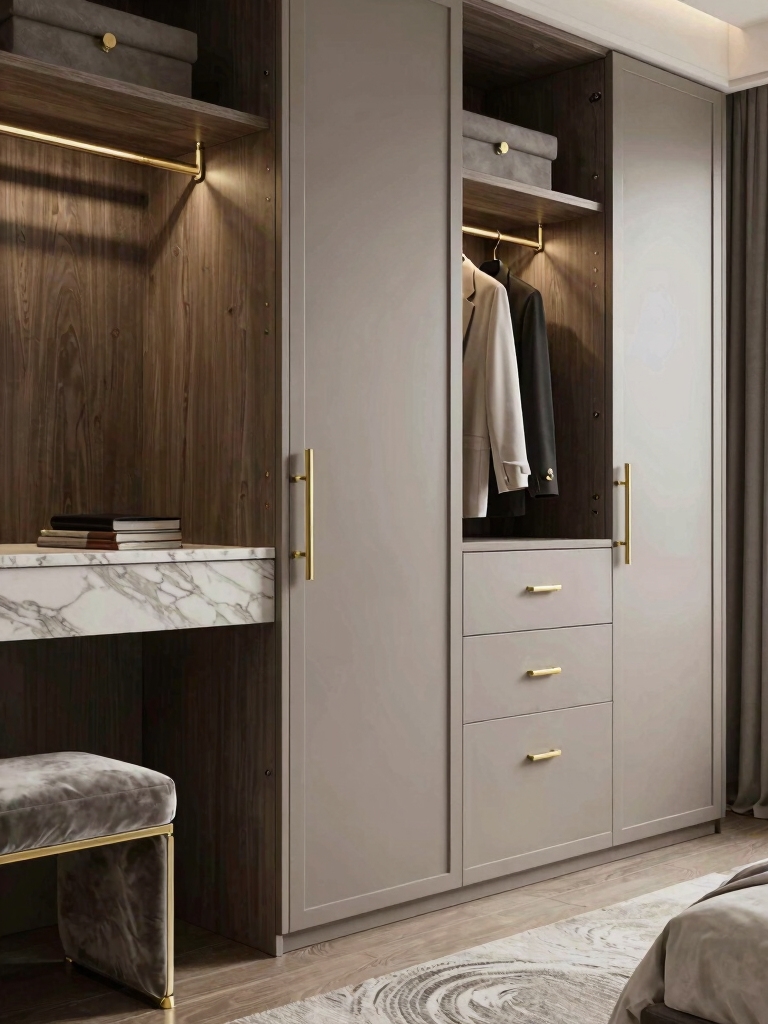
If you change one thing on a cupboard, change the handles, since hardware is the jewelry that makes the whole piece look expensive. Builder-basic knobs are a dead giveaway of a budget wardrobe, and swapping them for quality handles transforms the look for under thirty dollars.
It’s the highest-impact, lowest-effort upgrade here, the kind of ten-minute swap that makes a friend walk in, run a hand over the handle, and ask whether you finally splurged on a custom wardrobe. Start there.
- Swap basic knobs for solid, weighty handles in brass, black, or brushed nickel for instant polish.
- Match the metal to the rest of the room’s hardware so the wardrobe looks coordinated and custom.
- Add soft-close hinges and runners so doors and drawers move smoothly, the quiet signal of quality.
What’s your cupboard’s biggest budget tell? Match the fix:
1Cheap, basic handles
Swap them for solid, weighty hardware in a finish that matches your room; under $30, ten minutes.
2A gap above it collecting dust
Cap it with a panel or trim so it reads floor-to-ceiling and built-in.
3A flat, lifeless finish
Repaint in a smooth cabinet finish or apply veneer, and add an interior LED strip to make it glow.
Light and Airy Storage Solutions
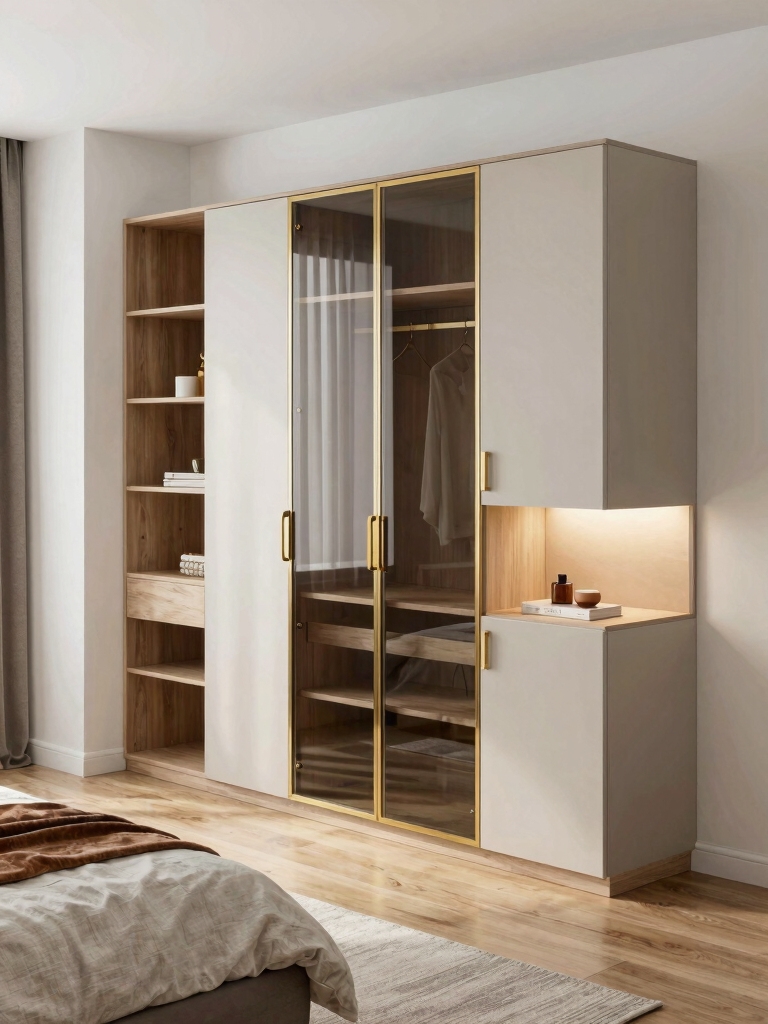
Lighting is the detail that turns a plain cupboard into a boutique-closet moment. It’s cheaper than ever. A strip of warm LED inside the wardrobe or under a shelf makes the whole piece glow and feel custom, the way high-end closets light their contents. Battery or plug-in LED strips run $15 to $40 and stick on in minutes.
Light It Like a Boutique Closet
Keep the look airy so the storage feels considered, not crammed. A mix of closed doors for the messy stuff and a few open, styled shelves for folded knits or a plant mimics a designer closet, while everything hidden keeps the room calm. The balance of concealed and displayed is a classic expensive-storage move.
Let light and openness work together. Glass-front or cane doors, an open niche, or a lit display shelf all add the airy, gallery feel of a pricey built-in. Keep the displayed pieces few and tidy so the effect stays luxe and uncluttered. My [bedroom lighting ideas for mood](bedroom-lighting-ideas-mood) cover warm strip placement.
Proportion and Symmetry Tricks
Proportion is the invisible thing that makes expensive cupboards look expensive, and it costs nothing to get right. A wardrobe that fills its wall, runs to the ceiling, and sits symmetrically looks intentional and built-in, while one floating awkwardly with gaps seems like an afterthought. Aligning a cupboard to the architecture is half the high-end illusion.
Flank and balance to fake custom joinery. Matching cabinets on either side of a bed or a window, or a wardrobe centered on a wall with even space around it, gives a room the symmetry the eye takes as designed. Even two affordable wardrobes pushed together and capped with a shared panel can pass for one built-in unit.
Mind the trim and the gaps, since that’s where budget pieces betray themselves. Adding baseboard and crown molding around a freestanding wardrobe, and filling the gaps with simple filler strips, makes it look fitted over freestanding. This finishing carpentry is cheap, a little fiddly, and the single most convincing custom-look trick there is.
Style the Cupboard Like a Designer
An expensive-looking cupboard is also a styled one, since how you dress it finishes the high-end effect. On any open shelving, arrange a few good-looking pieces with breathing room: a stack of folded knits, a couple of books, a small plant, a tray. Designers leave space; crammed shelves read budget no matter the cabinet.
Coordinate the cupboard with the room so it feels part of a whole. Echoing its color or hardware in a nearby lamp or frame, and keeping the surrounding palette calm, makes the wardrobe look chosen rather than dropped in. A piece that talks to the rest of the room always reads more expensive than an island of furniture.
Keep the inside as considered as the outside if it’s ever on show. Matching hangers, lined baskets, and a tidy system behind glass or open doors turn the contents into part of the look. Even when the doors stay shut, knowing it’s that organized makes the whole piece feel like the luxury closet it’s imitating.
Cheap Materials That Pass for Pricey
Knowing which affordable materials pass for high-end is half the budget-luxe battle. Melamine and laminate in a matte or soft-sheen finish stand in convincingly for painted wood, especially with quality hardware on top. The eye rarely clocks the material; it clocks the finish, the lines, and the handles, so a humble box dressed well punches far above its cost.
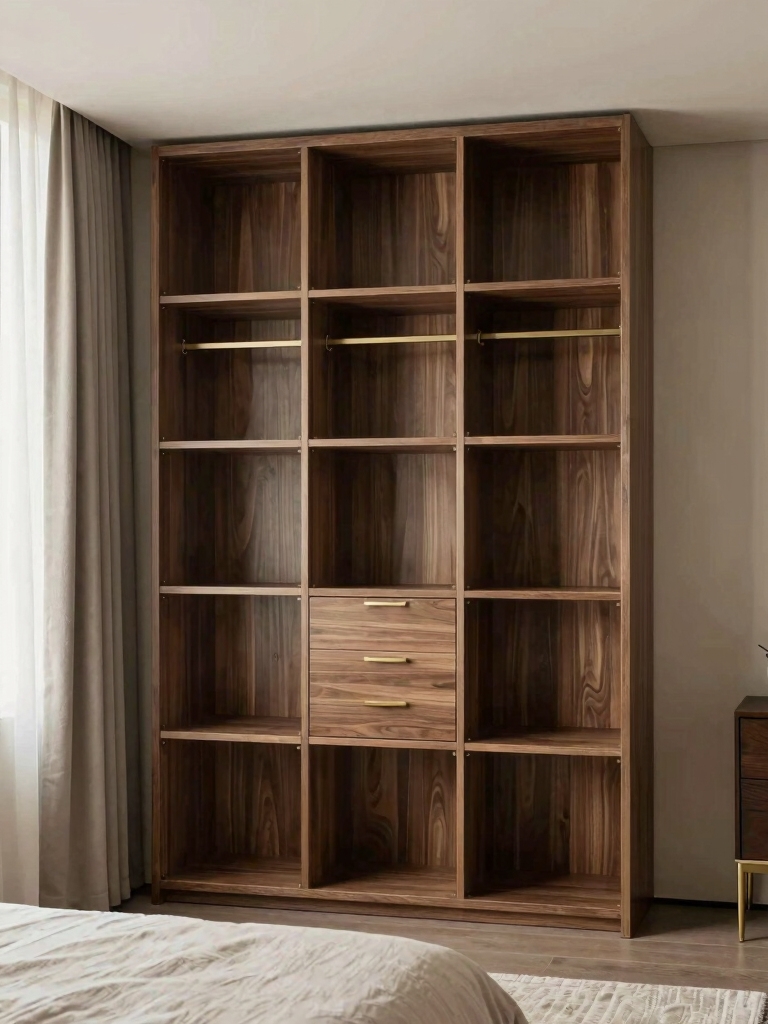
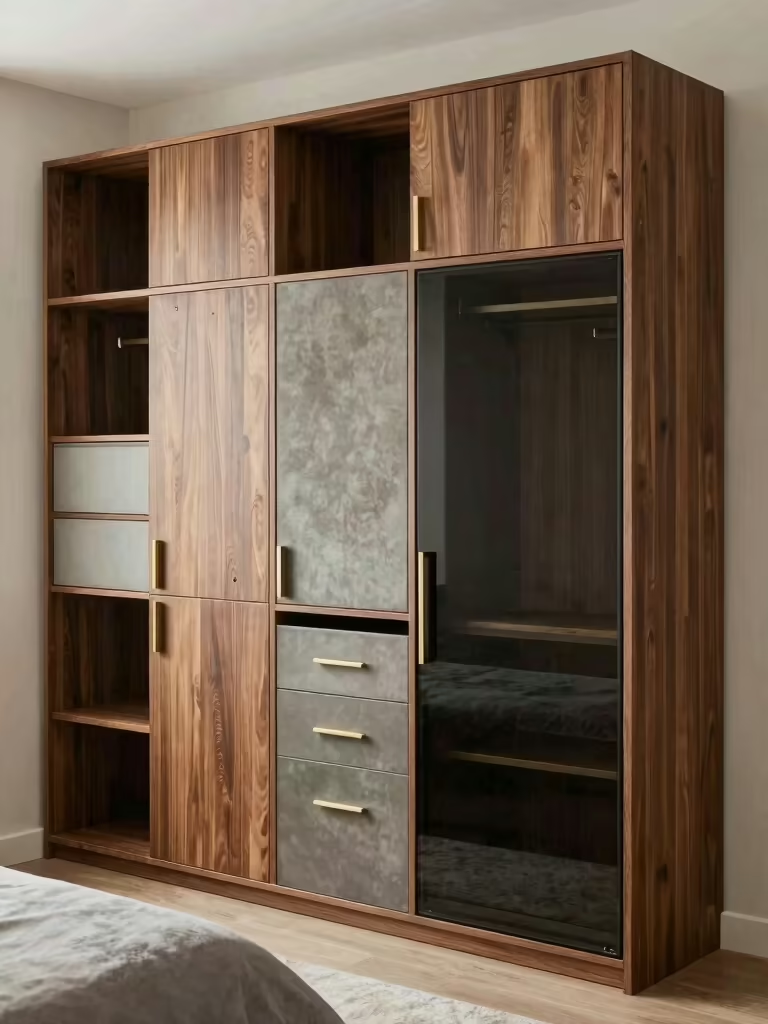
Veneer is the secret weapon for a real-wood look without the lumber price. A thin wood veneer over a plain carcass gives you genuine grain and warmth for a fraction of solid timber, and peel-and-stick versions make it a no-tools afternoon. Pair a warm veneer with brass hardware and the wardrobe could pass for a custom joinery piece.
For a stone or marble moment, skip the slab. A stone-effect laminate or a peel-and-stick marble film on a single panel or the top of a low cabinet brings that luxe material in for pocket change. Used on one feature rather than everywhere, the faux stone stays believable and elegant, and nobody’s running a fingernail over it to check.
Budget Upgrades, Step by Step
If you’re transforming a basic wardrobe, the order of operations keeps it cheap and effective. Start with the highest-impact, lowest-cost moves: swap the handles, add a soft-close kit, and run an LED strip inside. Those three alone, well under fifty dollars, shift the look dramatically before you’ve touched paint.
Then layer the bigger transformations as budget allows. A smooth coat of cabinet paint or a veneer comes next, then trim and filler panels to fake built-in, and finally the styling on top. Spreading it over a few weekends keeps the cost manageable, and the wardrobe gains polish at every single step, which is the whole point of a budget-luxe project.
Expensive-Look Cupboard Questions, Answered
?How can I make a cheap wardrobe look expensive?
Swap the handles, add soft-close hinges, give it a smooth coat of cabinet paint, run an interior LED strip, and fill the gaps with trim so it reads built-in. The details, not the price, sell the high-end look.
?What’s the single most effective upgrade?
New hardware. Quality handles in a finish that matches your room transform a basic cupboard for under thirty dollars and ten minutes, more bang for the buck than anything else.
?How do I fake a built-in wardrobe?
Run it floor to ceiling, cap any gap above with a panel, add baseboard and crown molding around it, and fill side gaps with filler strips. That finishing trim is what makes freestanding furniture read as fitted.
Expensive Is in the Details
A cupboard looks expensive when the details are right, not when the receipt is big. Clean lines, quality hardware, a smooth finish, smart lighting, and good proportion fool the eye into seeing custom every time, and almost all of it is doable on a plain wardrobe you already own. Spend on the handles and the finish, fake the rest, and style it like a designer.
The gap between a basic cupboard and a built-in is mostly handles, paint, and proportion, and none of it costs much. Start with the handles; that’s the upgrade you’ll notice every single time you walk past.