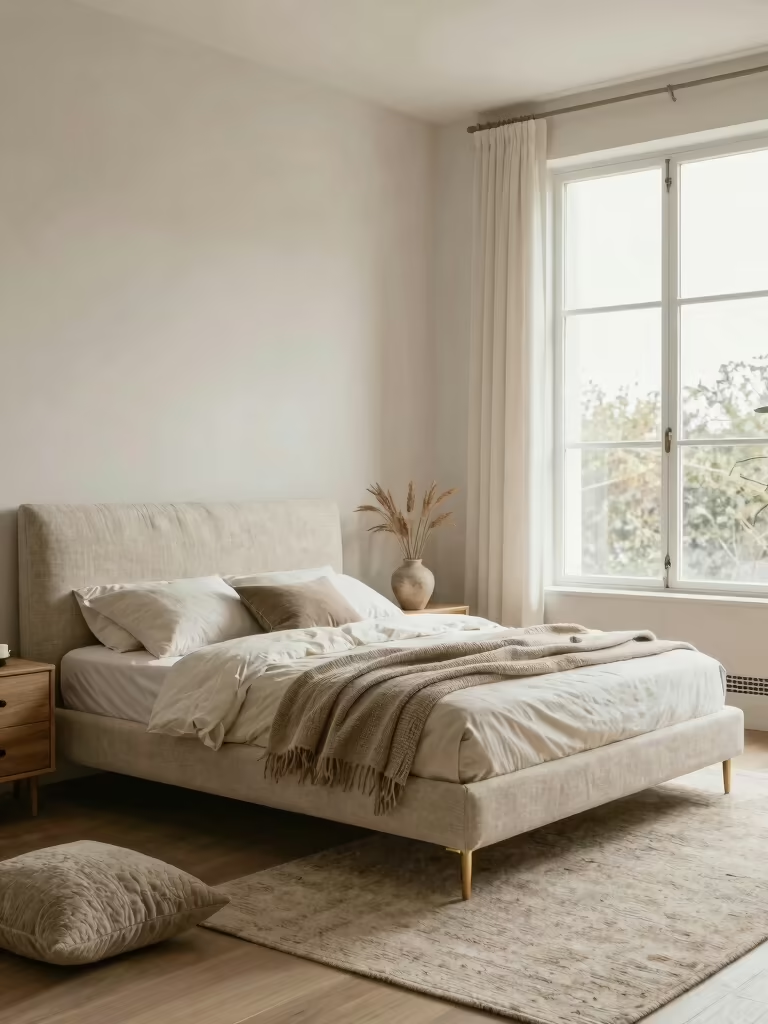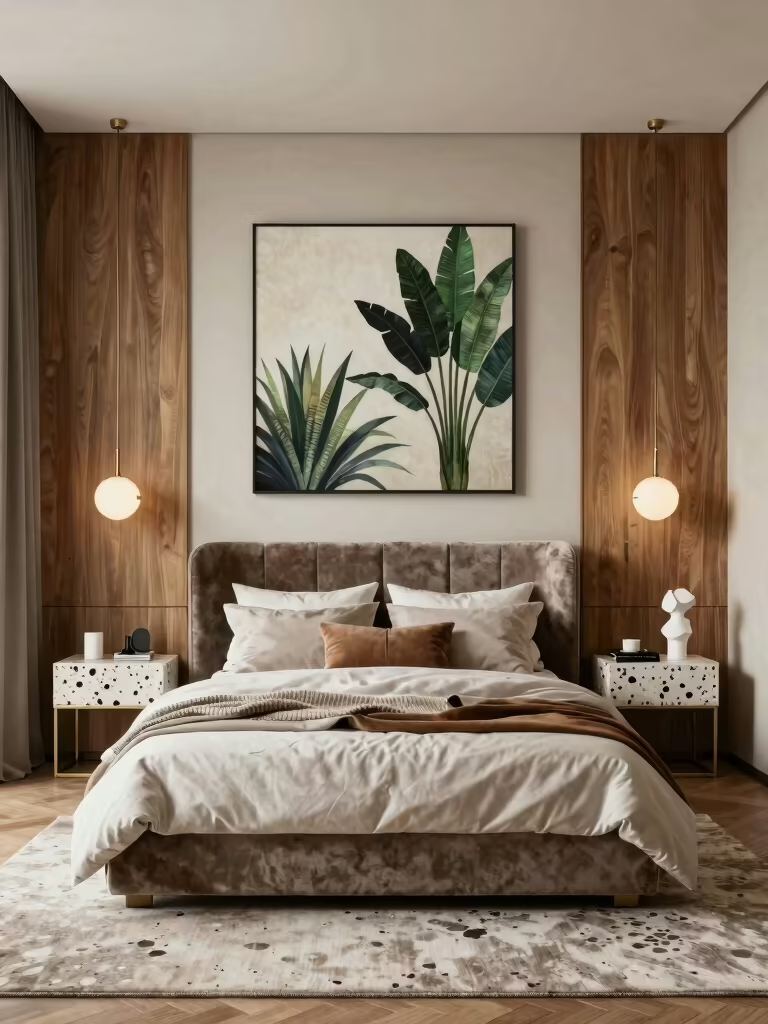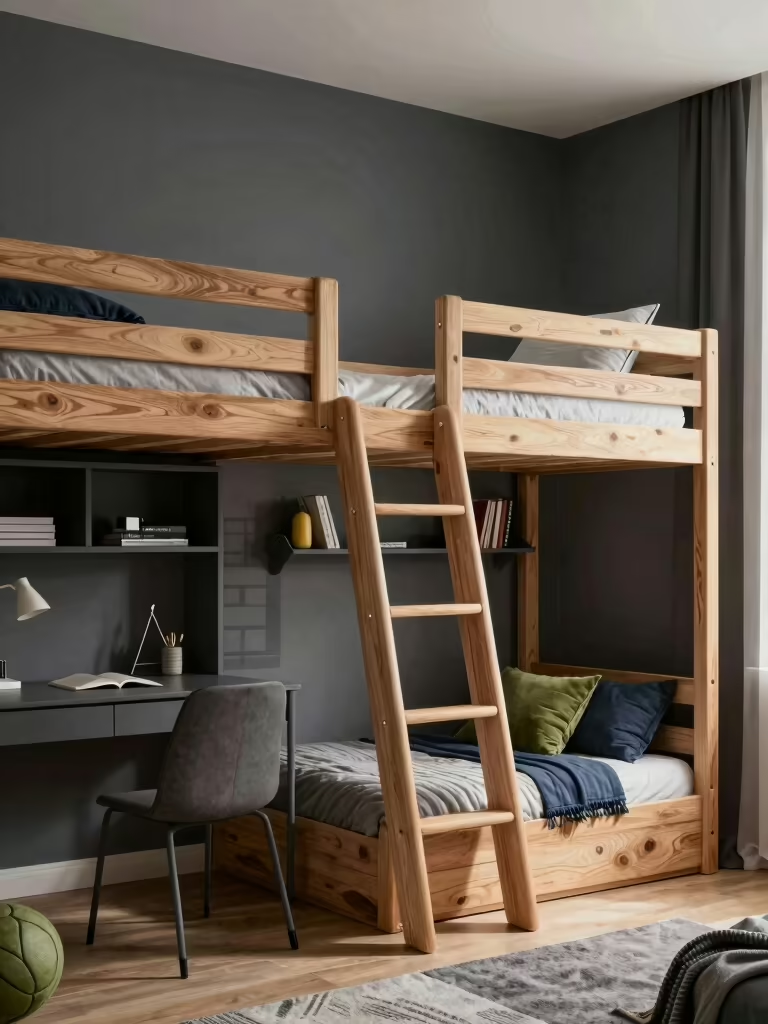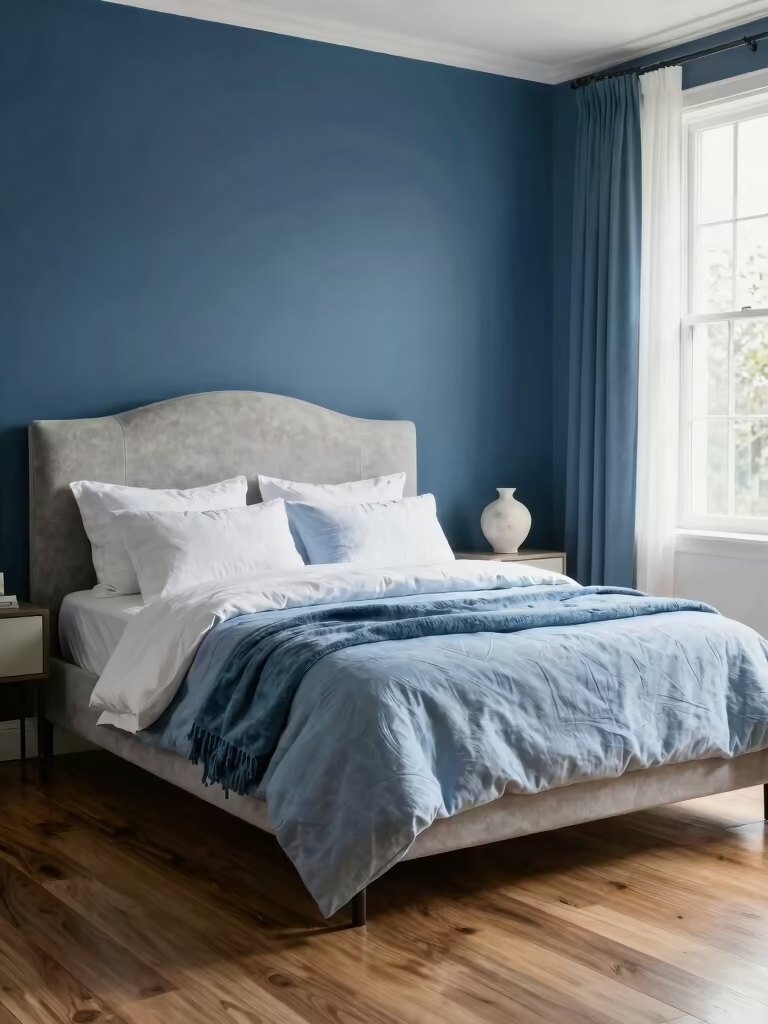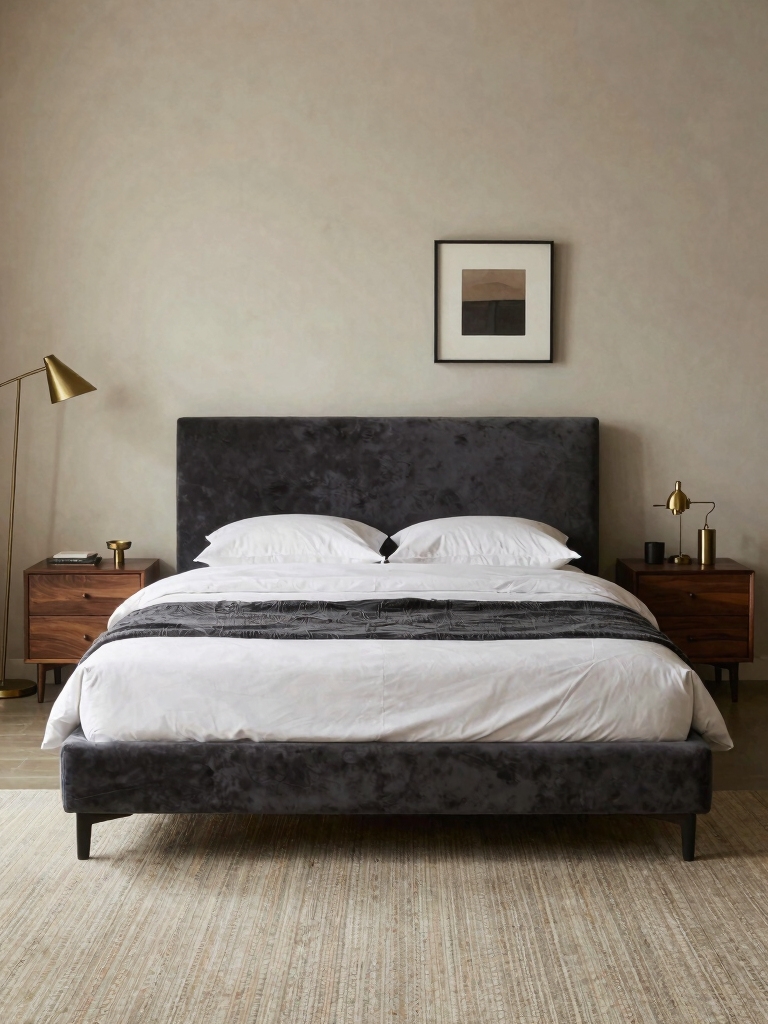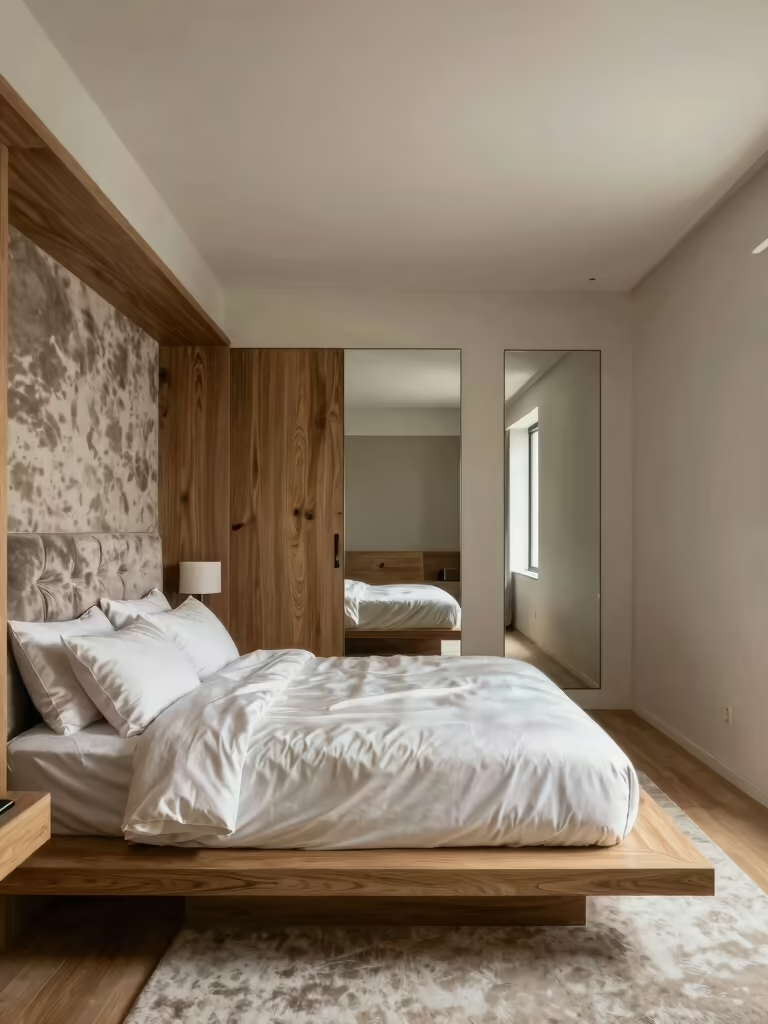

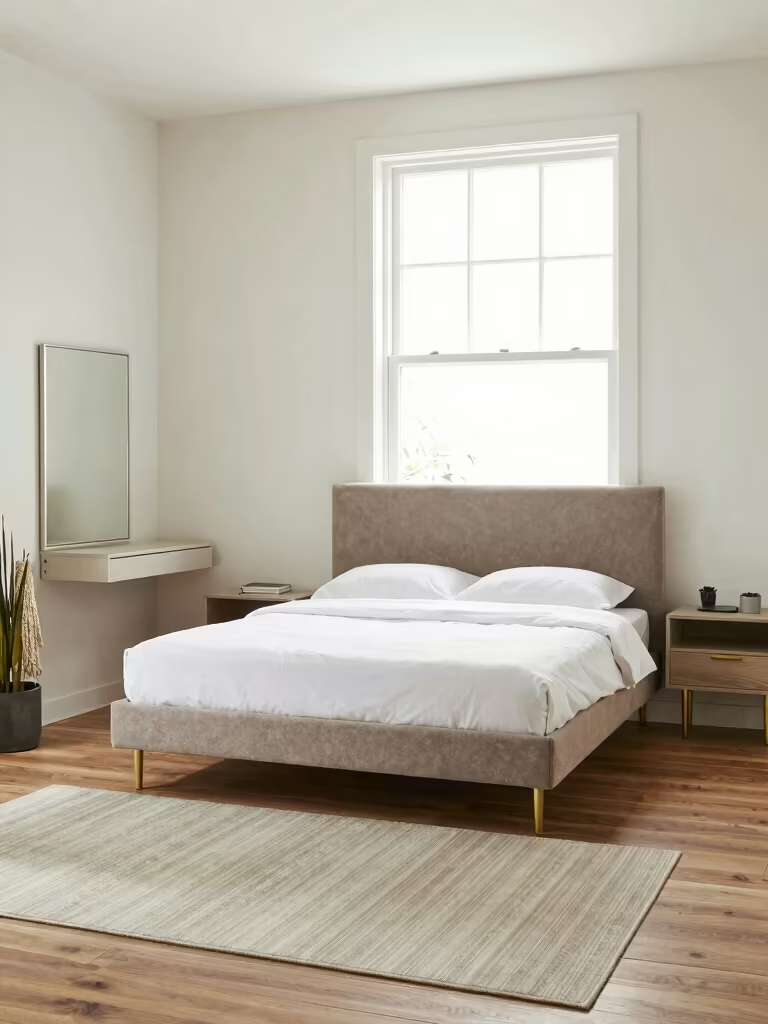
What can you actually build yourself to make a small bedroom work harder? More than you’d think, and most of it fits in a weekend with a drill and a trip to the hardware store. The best small-room upgrades aren’t bought, they’re made to fit the exact awkward corner you’re dealing with.
These DIY bedroom ideas for small rooms are the buildable ones: vertical storage you mount yourself, under-bed drawers from a kit, a headboard you upholster in an afternoon, and multi-use pieces you can hack from flat-pack. Start with a plan and honest measurements, then knock the projects out one at a time. Each one frees floor, hides clutter, or adds the comfort a tiny room is missing.
Key Takeaways
Plan and measure before you build, since a DIY that doesn’t fit the room is wasted time and lumber. Start with the projects that free the most floor: vertical storage and under-bed drawers do the heavy lifting.
Tackle one weekend project at a time, a floating shelf, an upholstered headboard, a flat-pack hack, and lean on removable, renter-friendly versions where you can’t drill or paint.
Plan Your DIY Bedroom Makeover
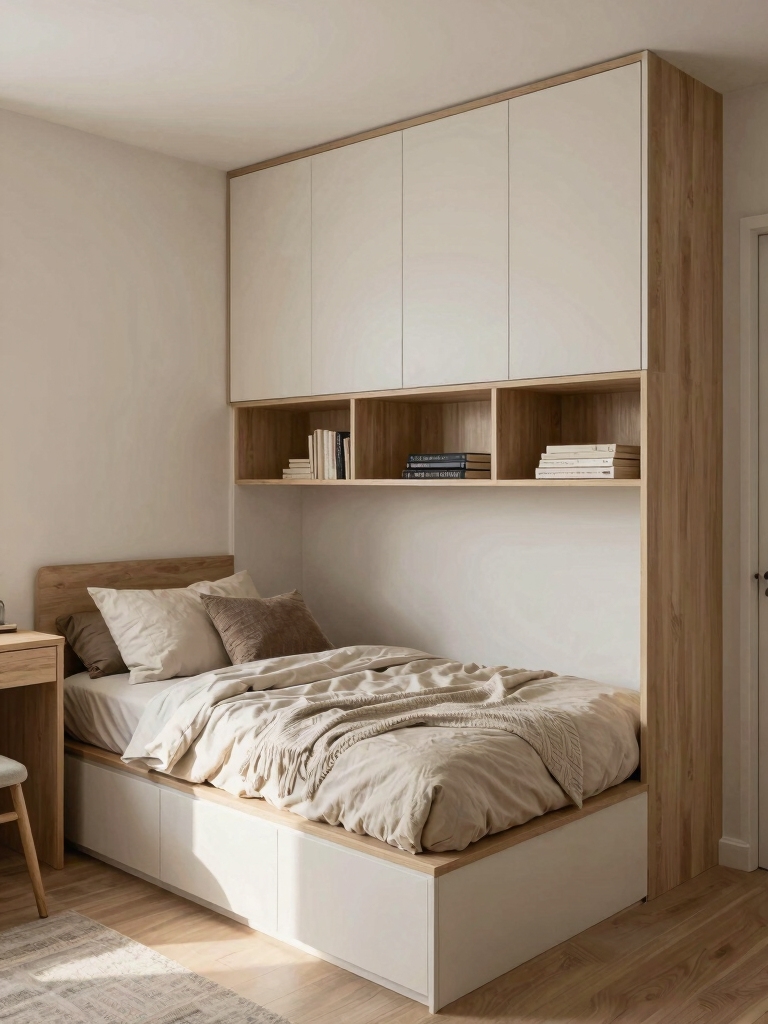
Every good DIY starts with a clear goal, not a Pinterest board. Before I pick up a drill, I write down what the room actually needs, more storage, a clearer floor, a cozier feel, and set a rough budget, so each project solves a real problem. A focused plan keeps a weekend makeover from turning into a half-finished mess.
Be honest about your limits too, both the room’s and your own. Pick projects that match your tools and skill so you finish them, since an abandoned half-build helps no one. Sketch the room to scale, the way these small-room layout ideas suggest, and the DIY list almost writes itself.
- Write down the one or two problems the room has, then build only what solves them.
- Set a budget and a weekend per project so the makeover stays finished, not perpetually in progress.
- Match each project to your real tool kit and skill level so it actually gets done.
Measure the Room and Map the Dark Spots
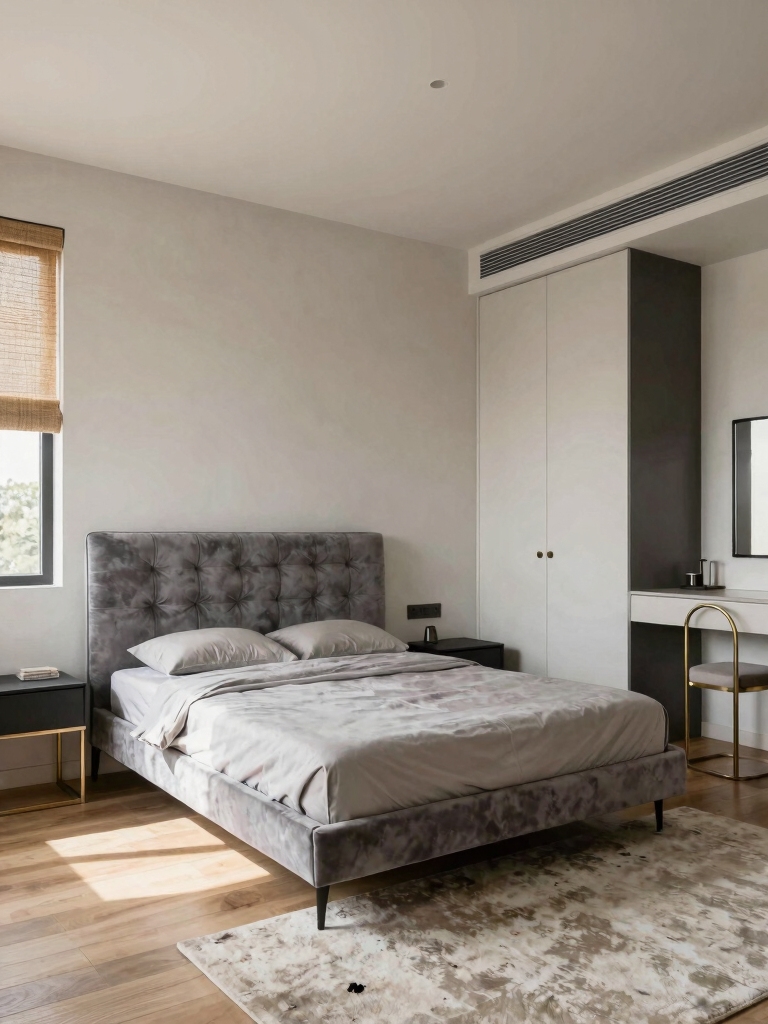
The most important DIY tool is a tape measure, and the most common mistake is skipping it. I measure twice and note the door swing, the window light, the outlet positions, and the exact wall lengths, because a built-in or a shelf that’s an inch too big is a weekend wasted. Map it on paper before you cut anything.
Twenty minutes that saves a weekend
While you measure, mark the dark corners. Every small room has a spot the daylight never reaches, and knowing where it is changes your plan, a mirror to bounce light there, a slim lamp, or a pale paint to lift it. The audit takes twenty minutes and saves you from building something that fights the room.
Note the fixed stuff you can’t move: the radiator, the closet door, the window. Those constraints decide where the bed and the storage go, and designing around them honestly is the difference between a DIY that fits and one you fight forever. Good measurements are the cheapest insurance in any build.
Two quick questions before you pick up a drill:
1Do I need power tools to DIY a small bedroom?
Mostly just a drill, a level, and a tape measure. A headboard, floating shelves, and a flat-pack hack need nothing fancier, and the no-drill versions, adhesive hooks, tension rods, freestanding shelves, skip even that.
2Which project should I do first?
Whatever solves your biggest problem. If clutter is the issue, start with vertical or under-bed storage; if the room feels cold, do the headboard and paint. Lead with the one fix you’ll feel every day.
DIY Vertical Storage You Can Build
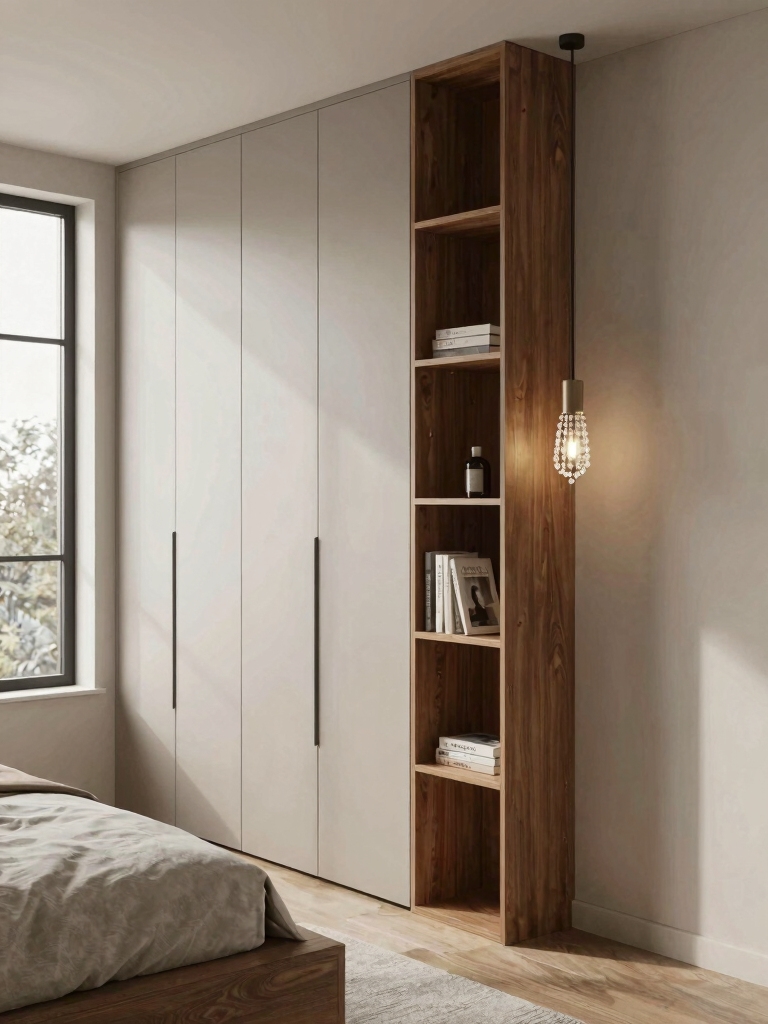
Vertical storage is the highest-impact DIY in a small room, because it adds real capacity without touching the floor. Most of it is beginner-friendly: a few brackets, a level, and a drill get you most of the way. Treat the wall above eye level as the storage you haven’t built yet. The first time I ran shelves all the way up a narrow wall for a client, she got back a closet’s worth of book space from a strip of wall she’d never once thought to use.
- Mount floating shelves on sturdy brackets, about $15 a pair, up toward the ceiling for books and bins.
- Hang a pegboard above the desk or by the door to corral keys, headphones, and small gear off the surfaces and onto the wall.
- Install a tall, narrow wardrobe or a stack of cubbies so seasonal clothes go up, not out across the floor.
- Add a slim shelf above the door for the rarely-used stuff, the suitcase or the holiday bins, and pair it with these storage ideas for hiding clutter to keep the whole wall looking tidy.
Under-Bed Storage You Can Make
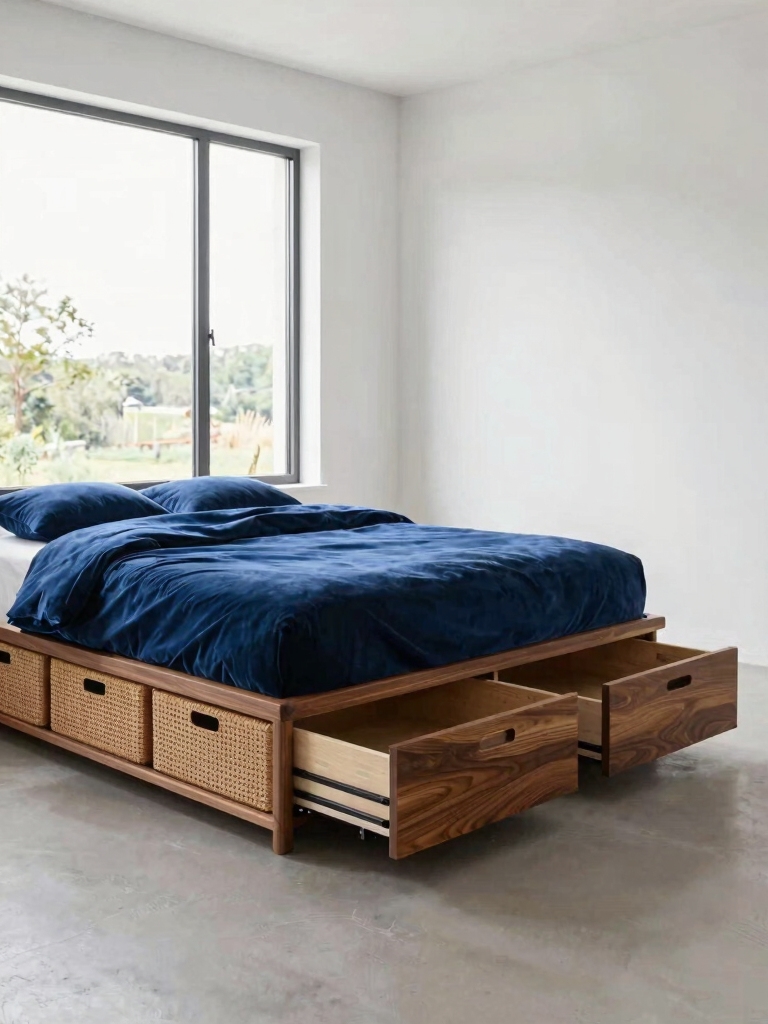
The space under the bed is the easiest storage win in the whole room, and you can DIY it for almost nothing. Start here if you’re new to this. Lift the frame on bed risers, about $15 to $25, to open up clearance, then add rolling totes or build a simple plywood drawer on casters that glides out from the side. One afternoon and a few cheap parts reclaim a whole dresser’s worth of space you already had but couldn’t reach.
Keep it usable, not a black hole. Flat, labeled bins on wheels stay reachable from the back, and a bed skirt or a low plywood valance hides the whole zone so the room still looks tidy. I build a rolling under-bed drawer for almost every tight room I work on, since it’s cheap, simple, and hides the bulky stuff, the off-season clothes and spare bedding, completely out of sight.
“Designer’s note: measure the gap, not the furniture. Most DIY storage fails because someone built to a standard size instead of the actual awkward space they have. Measure the real nook, the real wall, the real under-bed clearance, and build to that. A piece made to fit a small room’s quirks always looks more custom than anything off a shelf.”
Multi-Functional Furniture for Small Rooms
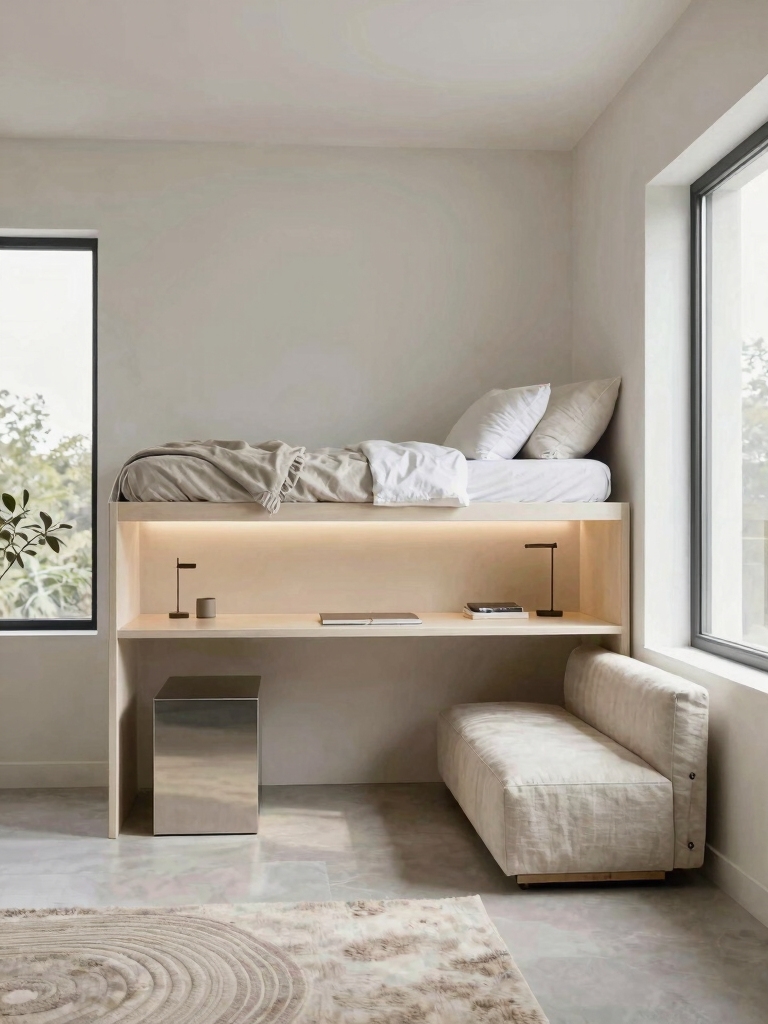
When floor space is tight, every piece has to earn its keep, and the DIY angle is to hack ordinary furniture into double-duty pieces. A flat-pack cabinet becomes a nightstand with a charging drawer, a plain bench gets a hinged lid for storage, and a wall-mounted board folds down into a desk. A little hacking turns one piece into two or three.
The math is simple. Two jobs from one footprint is exactly what a small room needs. I tell people to start with a flat-pack hack, since it’s the gentlest way into DIY: you’re modifying something that already works, not building from scratch, and a cheap cabinet with a new top, fresh knobs, and a drilled cord hole looks nothing like its boxed-up self.
- Build or hack a storage bench for the foot of the bed: a seat, a footrest, and a hidden bin in one.
- Add a fold-down wall desk that tucks flat when you’re done, freeing the floor for everything else.
- Turn a flat-pack cabinet into a multi-use nightstand with a drilled cord hole and a charging drawer.
- Choose a bed frame with built-in drawers, or add them yourself, so the biggest piece stores the most.
A Weekend Headboard and Other Quick Builds
The single most satisfying small-room DIY is a headboard, because it transforms the room and costs a fraction of a bought one. A piece of plywood cut to width, a layer of foam and batting, a few yards of fabric, and a staple gun gets you a custom upholstered headboard for about $80 to $150 in an afternoon. Mount it to the wall to save the floor space a freestanding one would eat.
Stack a few more quick builds on top of it. Removable wallpaper on one wall fakes a custom feel and peels off at move-out, a length of fabric on a tension rod hides an open closet, and a coat of paint on a thrifted dresser pulls the whole room together for under thirty dollars. These DIY budget bedroom ideas have more weekend projects, and these paint ideas for small rooms help you pick the color.
DIY Mistakes That Cost a Whole Weekend
I’ve made just about every small-room DIY mistake there is, so let me save you a few weekends. The biggest is skipping the measurement and building to a standard size, then finding the shelf won’t clear the door. Measure first, always. The second is overbuilding on weak anchors. A loaded floating shelf on two flimsy plugs pulls out of the drywall within a month, so hit the studs or use proper rated anchors.
The other two are about finish and focus. Raw plywood edges and a crooked mount are what make a build look homemade, so sand the edges, paint or trim them, and keep a level handy the whole time. And starting five projects at once is the surest way to finish none. I do one build all the way through before I start the next. Get those four right and even a first attempt looks intentional instead of improvised.
Best for Hands-On, Budget-Minded Renovators
This DIY approach pays off most for anyone who’d rather spend a weekend than a fortune, and for renters who need solutions that come right back out. If you can use a drill and follow a measurement, you can do almost everything here, and the projects you can’t tackle yourself, real built-ins, electrical, are easy to flag for a pro instead.
It also rewards patience over a single big spend. Knock out one project a weekend, the shelves, then the headboard, then the under-bed drawer, and the room transforms over a month without a renovation budget. Keep the renter-friendly versions handy, removable, freestanding, no-drill, and you get the custom-fit look without the deposit risk. A few of these decor ideas worth borrowing add the finishing polish.
DIY Small Bedroom Questions, Answered
?What’s the easiest high-impact DIY for a small bedroom?
A wall-mounted floating shelf or an upholstered headboard. The shelf adds storage off the floor with a couple of brackets and a drill, and the headboard transforms the room for about eighty to a hundred and fifty dollars in an afternoon. Both are beginner-friendly and reversible.
?How do I add storage to a rental I can’t drill into?
Lean on no-damage builds: freestanding shelves, tension-rod curtains and closet rails, over-door organizers, under-bed bins on risers, and adhesive hooks. They hold a surprising amount, come off cleanly, and give you the custom look without risking your deposit.
?What tools do I actually need to start?
A tape measure, a drill, a level, and a staple gun cover almost every project here. Add a hand saw or have the hardware store cut your plywood, and you can build shelves, a headboard, and under-bed drawers without a full workshop.
?How do I make a DIY look custom, not homemade?
Measure to the exact space, use a level so nothing sits crooked, and finish the edges, sand, paint, or trim, so it looks intentional. Building to your room’s real dimensions is what makes a DIY read as custom rather than improvised.
?What’s a realistic budget for a small-room DIY makeover?
You can do a lot for a couple hundred dollars spread over a few weekends: roughly $80 to $150 for a headboard, $15 to $25 for risers, $15 a pair for shelf brackets, and $30 to $80 for removable wallpaper. The labor is yours, which is where the savings come from.
Measure, Build, Repeat
A DIY small bedroom comes together one weekend project at a time: measure honestly, build the storage that frees the most floor, add a headboard for warmth, and hack ordinary pieces into double-duty ones. Because you build to the room’s real quirks, the result fits better and looks more custom than anything you could buy off the shelf.
Start with the project that fixes your biggest daily annoyance, grab the tape measure, and knock it out this weekend. One finished build is all it takes to see how much a small room can change with a drill and an afternoon.